So you've got a camera you don't know how to use? Part 5 [Savannah Photography Mentor]
Hi friends! All good things must come to an end at some point! This will be my LAST part of this series. I truly hope you have been enjoying practicing and learning how to use your camera in manual mode. Did you find parts one through four helpful? It was a LOT of info all at once so as always, you can refer back to those at any time— the link for part one (on using manual mode) is here , part two (on lighting) is right here, part three (composition and focus) is here, and lastly part four (on posing) is here.
As a reminder, each block of instruction will have a blog post like this one here, as well as videos in the post (like the one below), to teach you the basics. You can either just watch the videos first (if you’d like to just have them all in one place, you can click here for the entire playlist) and then read everything, or break it up into your own pace/chunks. And, if at the end of each lesson, you find that you have any questions, you can comment below on this blog post, or message me on social media! Be sure to follow along there as I will always be posting tips to help you learn even more; and I’m always happy to help answer any questions! 🙌🏻
OK! We’ve finally reached the end!
“How on earth do I make this photo better with editing?!” So friends, this is the one thing I feel I’m asked about the MOST from friends and even other photographers. Here’s the thing— Editing is SUCH a massive topic, and I know a bunch of you just want to know how to make your photos look polished the way I do with my work. However, I want to make it clear up front that editing is a PERSONAL preference. SO first, please read this next sentence:
There is NO one right or wrong way to edit a photo.
Read that sentence above ONE MORE TIME. Guys, right off the bat you won’t be able to make your photos look like a professional photographer’s work who has been it for YEARS (well unless you’re natural, as I have seen some newbies be super amazing at this). All good things take time, practice, and patience! Another important note too: editing CAN NOT SAVE A BAD PHOTO! It can make a good photo GREAT but it can’t fix something that’s super over exposed, out of focus, poorly composed, etc! This is why I wanted y’all to focus on taking a properly exposed, in focus, well composed photo first!
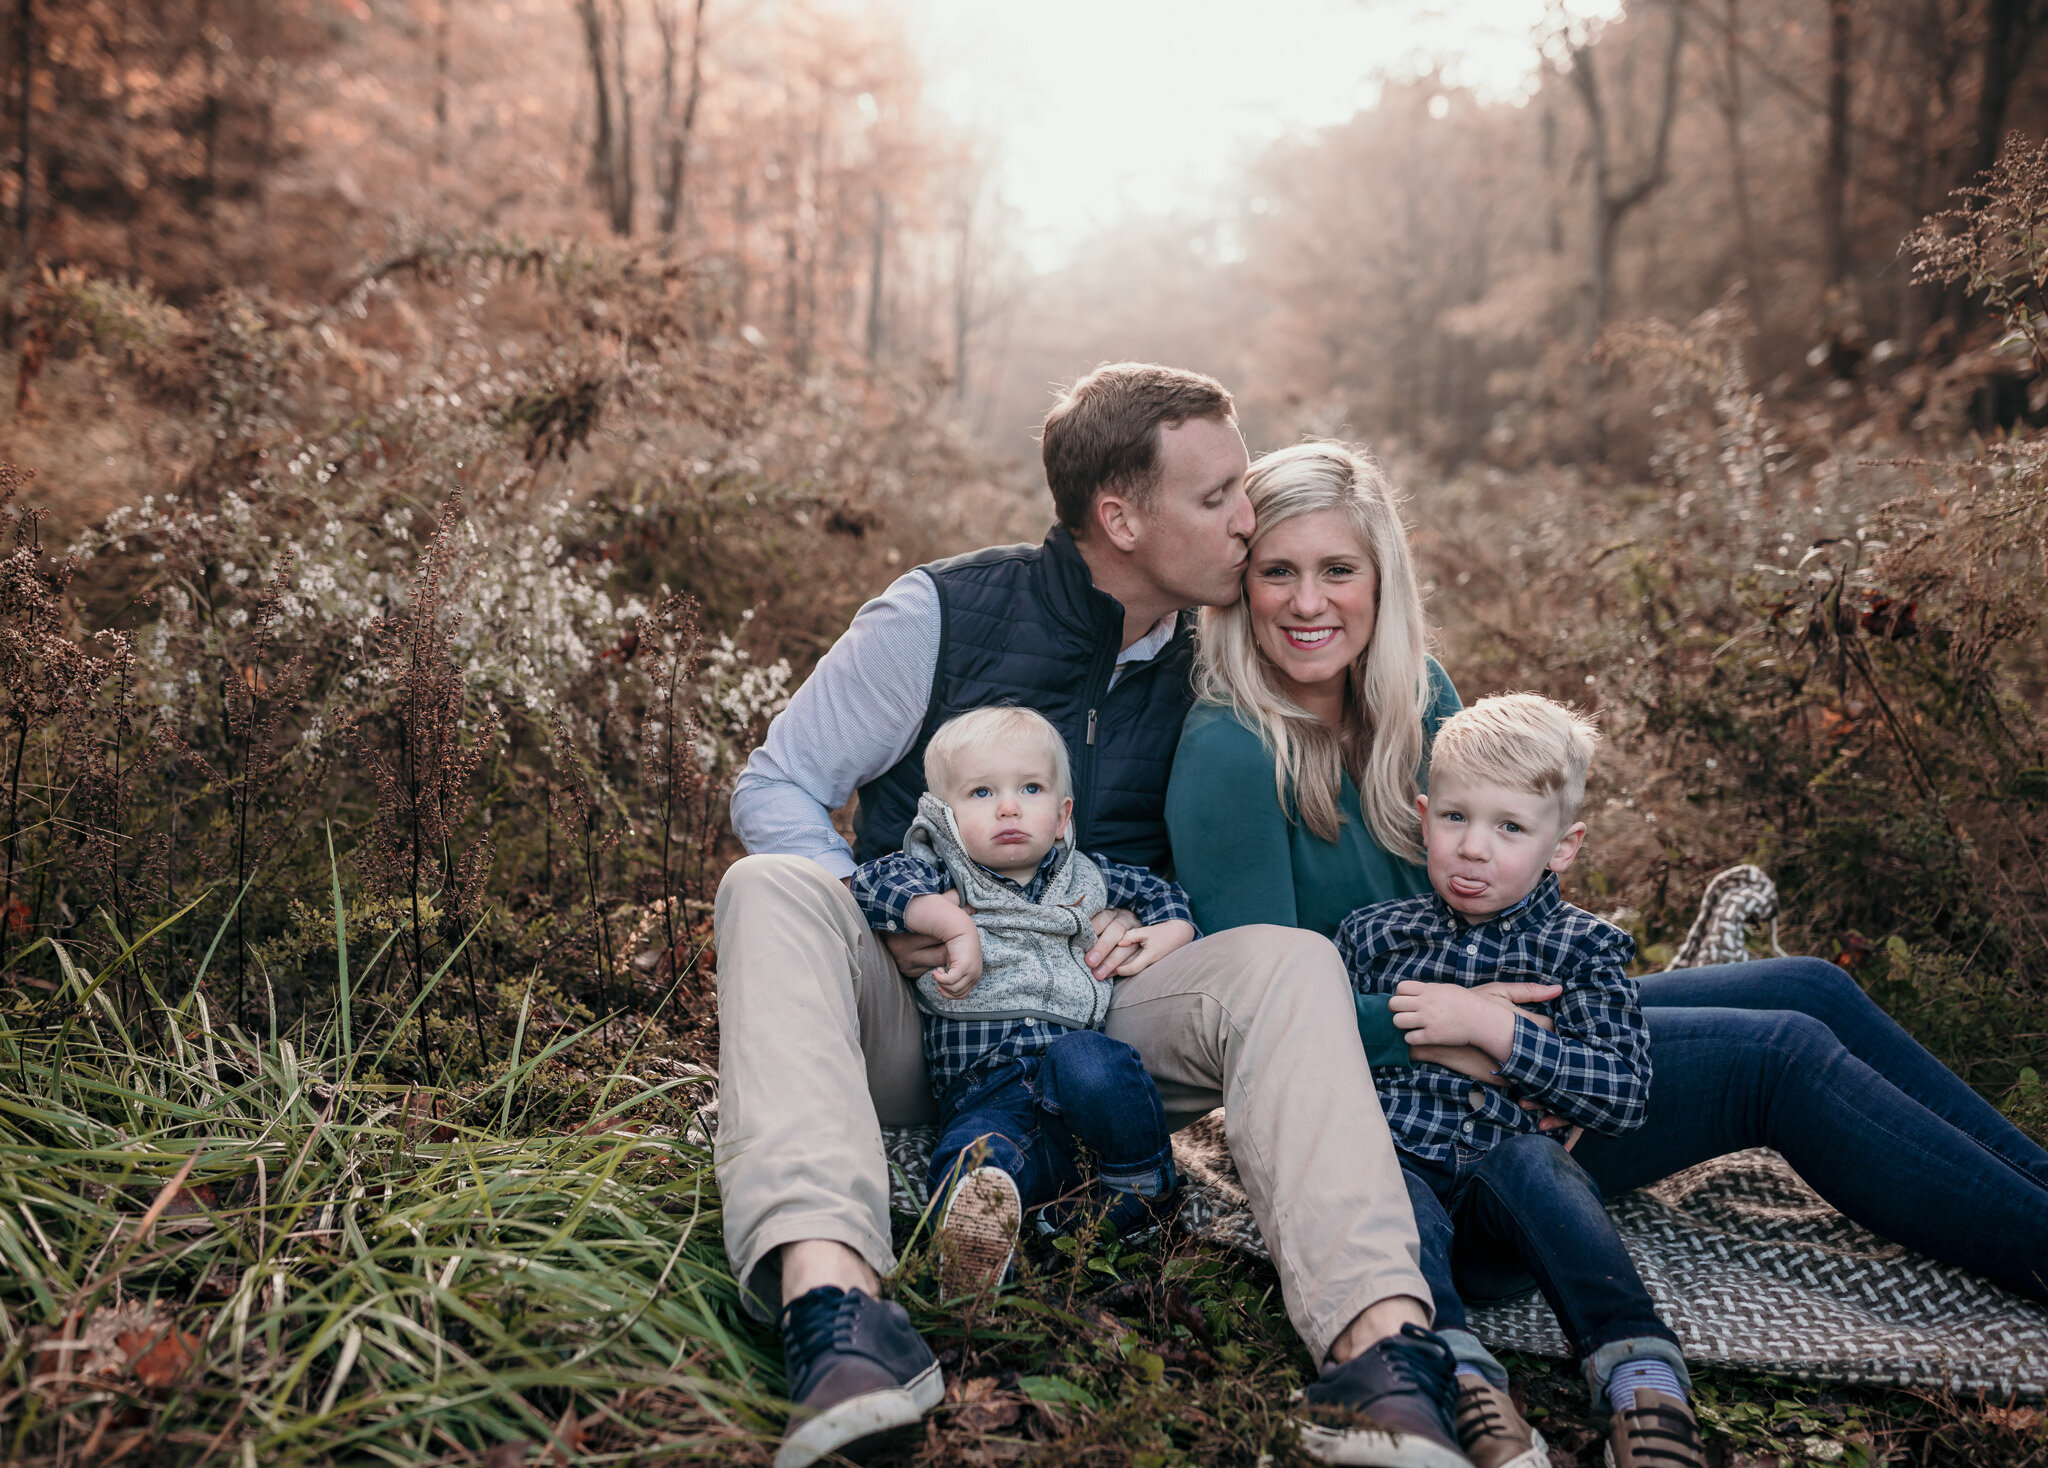
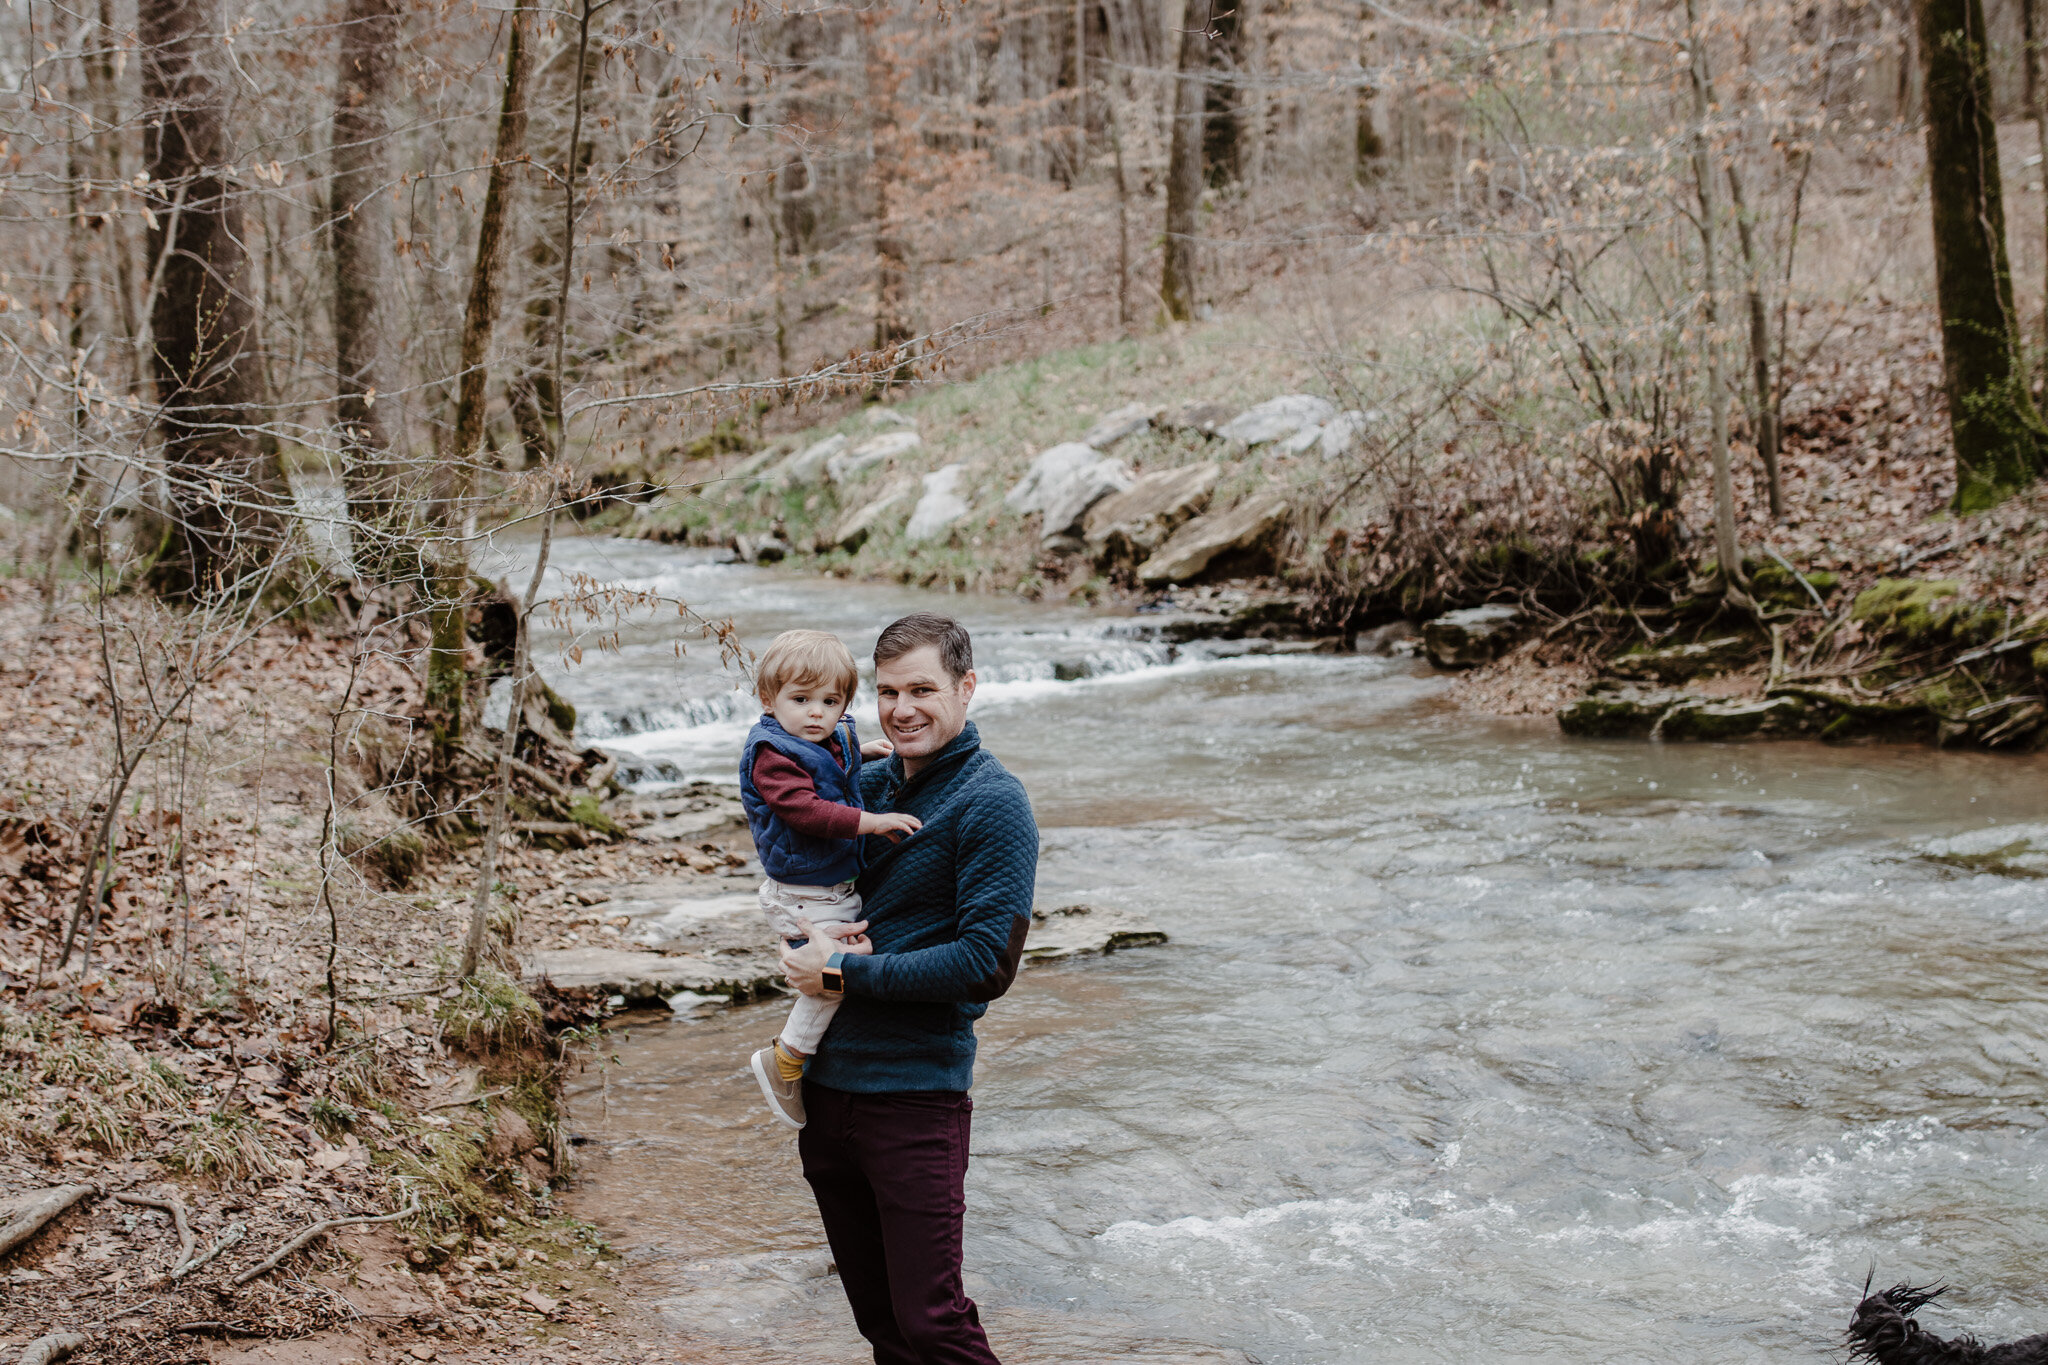
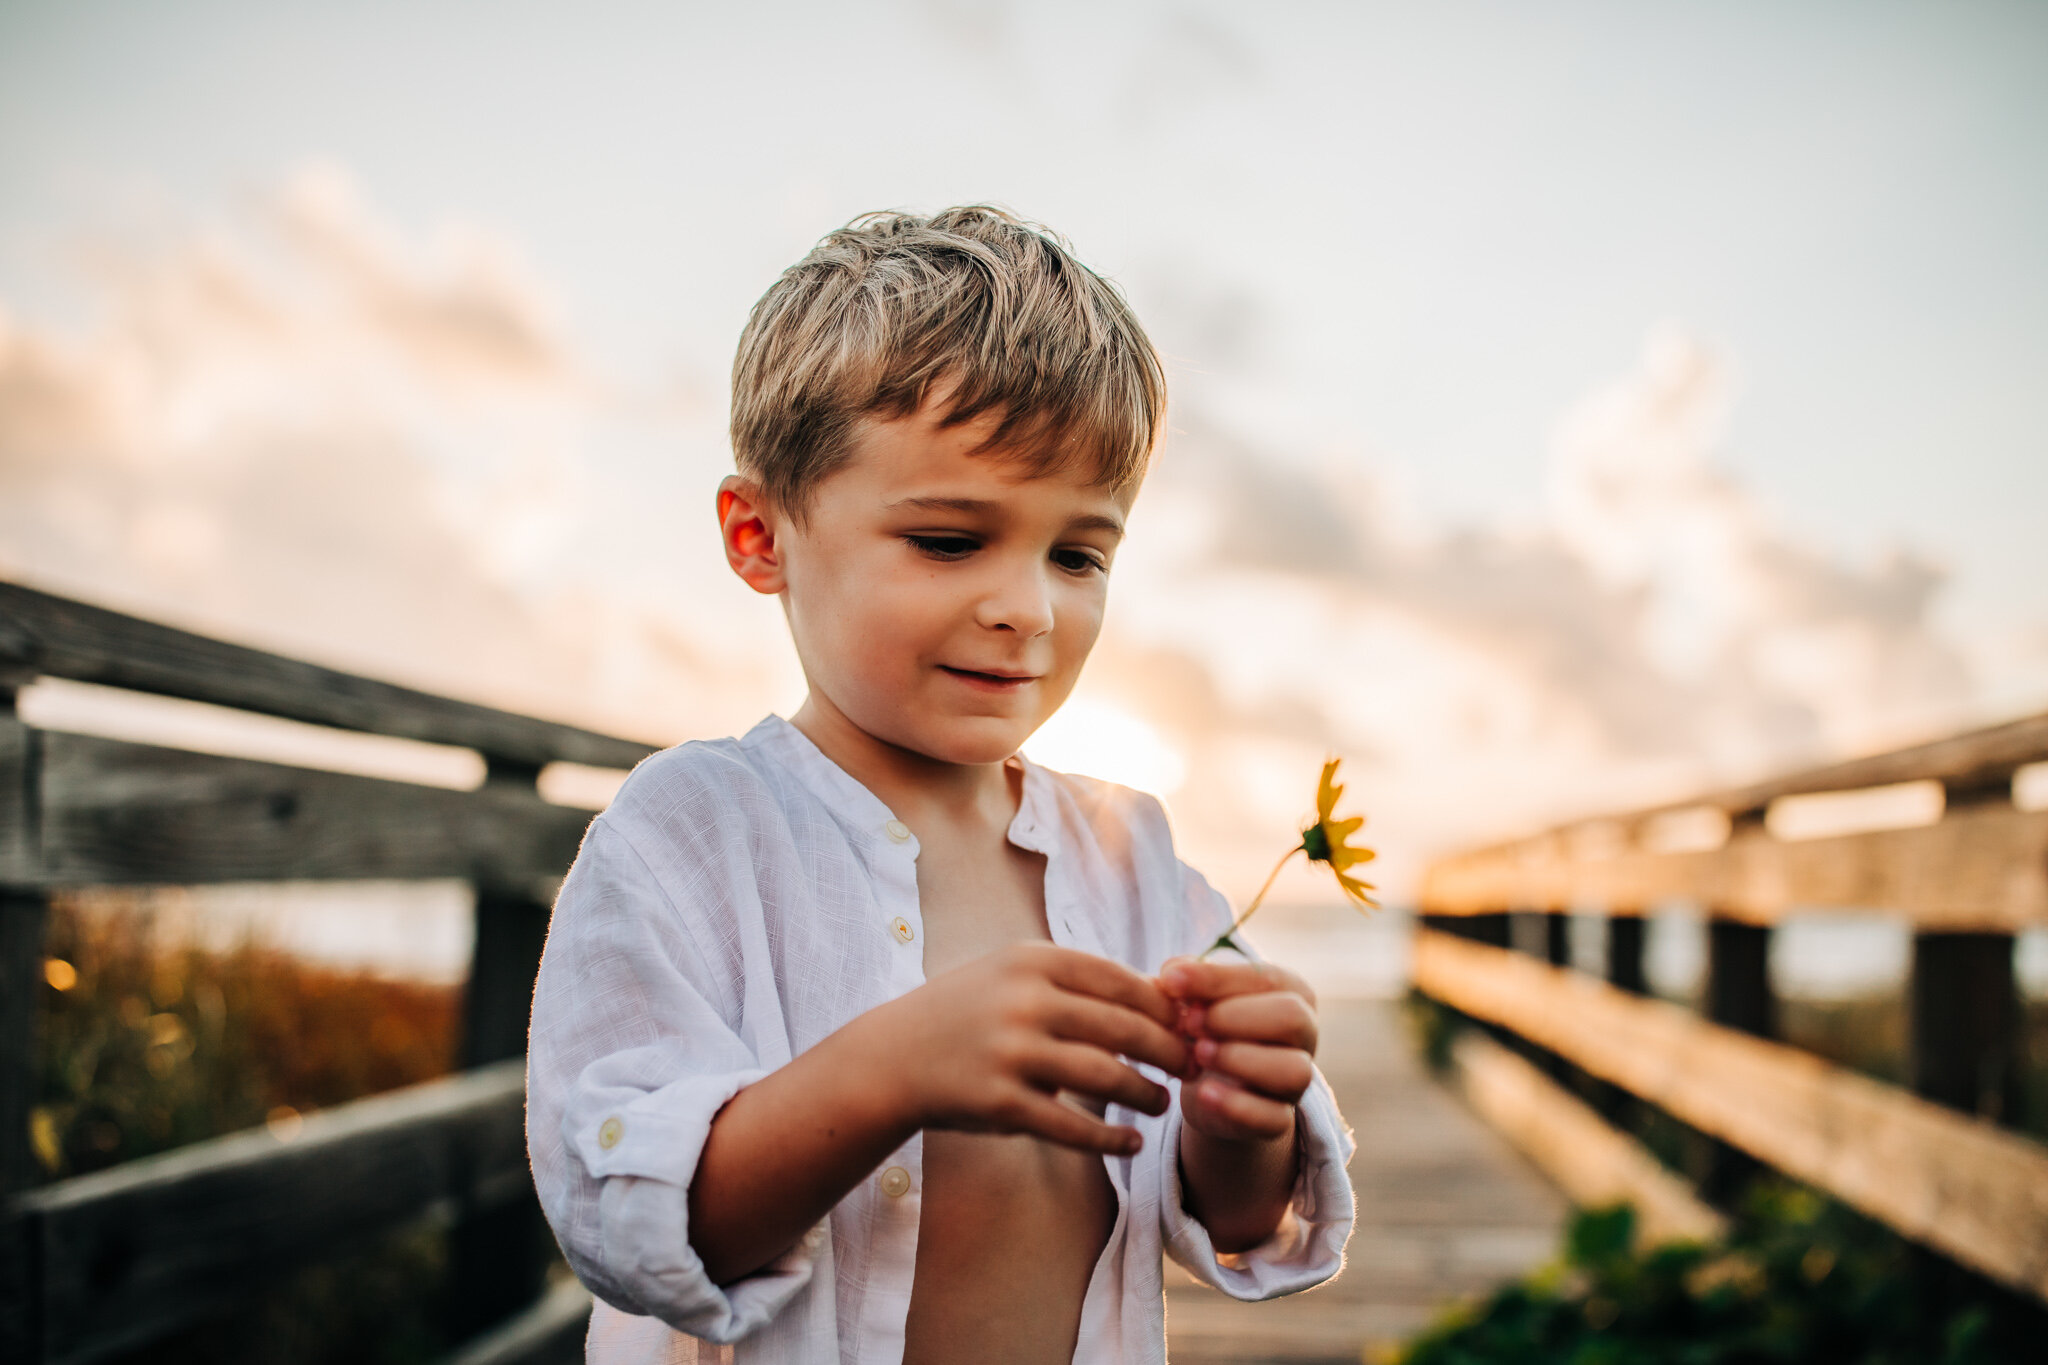
Ok, so now that that’s out of the way—just for some grins and giggles, I’m going to show you one of my very first “edited” photos from back in November of 2017 and then a photo from now in November 2020:


And because it’s always fun to see growth, here’s one of the same subjects from when I was just six months in versus three years of this journey! Notice in 2017 and 2018, I was editing my photos and thinking they looked phenomenal back then… compared to how I edit now, you can see the difference! I liked the coloring then, but I love what I’m doing now more with bolder/warmer/different editing. But does that make my 2017 photos bad or wrong? Absolutely not! It was just a different style of editing and lack of experience! I made mistakes then in 2017 and I still make them now too, but with more intention! Like if I cut off body parts, back then it was because I wasn’t aware of it, but now I know when I’m doing it, and what’s more is that I generally don’t care because I’m more focused on capturing a moment, ya know?


So how do you get started!?
Like the segments before, I’ve got a video going over all of the details, but let’s start here with some resources on how to actually get Lightroom (I’ll abbreviate this as LR from now on) on your cell phone and then how to work it. You can find LR mobile in your App Store. Everything I show will be specific to an iOS Apple device as thats what I have and use, but if you have an android it will still work for that too, it just looks different (sorry I really am android dumb too! 🤪).
Get started with LR mobile on iOS
Learn how to import photos in LR mobile
Learn how to edit photos in LR mobile
Learn how to export photos in LR mobile
Okay, those four articles above are all from adobe, the maker of LR, and are great to get you started. I’m 100% a google-r when I don’t know an answer to something, so my best advice is if you need help with some specific on it, google can be a great resource.
I’m not sure if ya realized this yet, but I’m totally a “list” kind of person, so here’s what I would say the steps are for editing your photos!:
Get your photos off your camera/SD card/computer and onto your phone so you can edit them! See above of getting started with LR mobile, or watch this video here on how to import them. I also show how I get my photos on my phone over to LR it in the video.
Side note: if you are going to take everything to the next level and edit within LR on a computer, you will have to pay for the LR software. There are several different versions of LR you can use. The wording gets confusing, but there is a cloud/mobile version that allows you to edit on the go and doesn’t have quite as much capability as Lightroom classic (which is what I use). Cole’s Classroom chats about which version you may want and why right here. Also of note, Photoshop (PS) is an Adobe software for editing and has a TON of power. I do not touch on using PS at all in this series for two reasons— 1. I only use it when I have to and am by no means smart enough to teach beginners on it! And 2. it’s very powerful and overwhelming at first, which is why LR is easier and what I recommend to start with!
Also if you are going to edit on your desktop/computer, then I recommend working off an external hard drive because RAW images are VERY BIG files that take up lots of space. This is the one I use. I also recommend doing the following (and honestly, if you’re storing your RAW or finished photos on your computer, this is decent advice too I feel!):
before you import photos from your camera/SD card (there’s different ways to do this, namely through wifi connection, a cord from your camera to your computer, or a card reader-which is what I use!), come up with a file organization system. I personally use lots of folders labeled as such: Year, then the month, then the date and name of the session. For exported photos I have the same setup except instead of date I have the name of the session and in parenthesis I’ll have two different folders for my faves/sneak peeks and for the final images that I upload to a gallery. Which as an example my folders look like this:
For RAW photos:
YEAR > MONTH > DATE> Name of family/sessionex: 2020 > JAN > 2020_01_02 Theo at beach
For Edited/ Exported photos:
2020 > MONTH > Name of family/sessionex for sneak peeks: 2020 > JAN > Theo on beach (faves)
ex for final gallery: 2020 > JAN > Theo on beach Theo on beach (final)
I also back up all my photos to two different external hard drives until I am done editing them. I also do not delete the images or format from my SD card until the final edited mages have been uploaded and delivered in an online gallery. I don’t want to risk losing my images or work somehow so I have lots of safeguards in place!
Once you’ve got your photos in LR, it’s time to start a simple checklist for editing!
First, I look at the light tab in LR mobile and check my exposure. I will always increase or decrease these sliders to make the image the exposure I want. A properly exposed photo will make your editing workflow SO much easier!
Second, I look at white balance and decide how warm or cool I want the image to be. Next is tint and deciding if it’s too pink or too green tinted and adjusting. I also will look at the saturation and decide if I should make it more or less vibrant. I don’t show this in the video, but there is an eye dropper tool on this tab where you can hover over and select a color to set your white balance too. If you put the tool over a neutral color (gray/white/etc) it’ll adjust the white balance (warmth/coolness and tint too) off of that color. I often though will instead opt for the “auto” white balance featuring in this tab and then adjust warmth from there to my liking.
Third, I go into the HSL/Color adjustment sliders and will look and play with the hue, saturation, and luminance of each individual color. I like to use the the method of color picking from the image by holding the circle down over the colors I want to adjust (shown in video). I don’t think I explain that by holding the circle over the color I want to adjust and then you slide your finger up and down on your screen (literally go up your screen and down your screen!) to change the color (hue), saturation or luminance!
After all the adjustments, I’ll see if I need to remove any unwanted things/objects or use and radial type filters. This may be a paid LR thing only just fyi!
Last up is making sure it’s not too crooked and cropped correctly to my liking. Once that’s done, it’s export and saving time, and you’re all done! I explain how I export them in the video, but again you can refer up to the link I shared above from adobe too!
Using presets speeds up my editing and gives me a consistent look. I have hundreds of presets both for my desktop and mobile LR. Nothing I ever use is simply just one click and I’m done, although some presets it does work that simply 90% of the time! I like to adjust and tweak everything to my liking. Are you guys sick of me saying that phrase— to your liking!? Everything with editing is PERSONAL CHOICE and TO YOUR OWN LIKING!!
Something I don’t touch on in the videos is how the tone curve works and how to adjust it. As well as split toning/color grading. This is because I find this to be advanced and hard to do on a phone. I mess with both of these a TON on my laptop/desktop (aka pro camera) images though because it really enhances your photos. As a PSA—almost every preset I own has tone curve adjustments and some split toning elements built into it, so when you use those, you likely will be adjusting those elements as well. Here’s some great info about the tone curves and color grading/split toning in LR:
How to use the tone curve in LR
Master the LR tone curve for much better photos
How to understand the LR tone curve
A guide to split toning and how to use it
How to use a split tone style in LR mobile for a consistent Instagram feed
Split toning: the secret in the recipe for many adored imagesI don’t mention this anywhere, but once I have my exported photos, I usually will back them up somewhere. For me, it’s in an online gallery (cloud) type system. Since I am a pro, I take many people’s photos and upload them into online galleries and send them via email for them to download. I do the same thing with my personal photos each month since I pay for the gallery services, but that’s just how I do it. You can use amazon photos or google photos as an easy backup option (and free I think)!
Lastly, just an admin note if you’re about to watch the video…. I have horrible allergies and apparently it shows in this video. Be gentle on me, k? 😂😂

A few final notes about editing:
Don’t be discouraged if your photos don’t look super duper amazing right from the start! I promise, this just takes PRACTICE!
Remember, this should be FUN. If you’re finding yourself stressed out, just stop. Take a break and try again later or a different day!
Done is better than perfect, and I have a feeling you will look at your finished and edited photo and feel PROUD that you took that! I still look back at the early photos I was taking while practicing and learning my camera/editing, and think “wow, I still love this photo. Even if it’s edited a little crazy from how I like now, and something is “wrong” (like a head or body part is amputated or the eyes aren’t tact sharp in focus), its still a great photo because it’s of MY family.”
Additional Articles on LR:
How to edit photos using free LR app
How to edit phone photos like a pro
Lightroom mobile and web video tutorials
How I edit my travel photos with Adobe LR mobile
Fifteen editing tutorials for LR mobile
Make your photos look amazing in LR mobile
OK friends, this is the END of my free series to help you learn and use your DSLR camera. I truly hope this was helpful and taught you something new so that you can now capture those precious memories of your own families. If you feel like this hobby may need to become something “more” and you’re interested in a more formal mentorship from me to really dive into the nitty gritty of becoming a photographer and how I edit, your in luck because I offer mentorships! These can be done in person or over facetime/zoom/skype! More information on my mentoring programs is here on my website, or you can send me a message to learn more!
As always, if you’ve got questions or just want to shout out that you’ve taken this journey, drop a comment below or send me a DM on Instagram! I have loved hearing from you guys as you felt inspired and seeing what you have learned over the course of this series. I sincerely hope you’re loving using your camera with more confidence, and as always, I’m here cheering for you! 💙